Tutorial 11 : 2D text
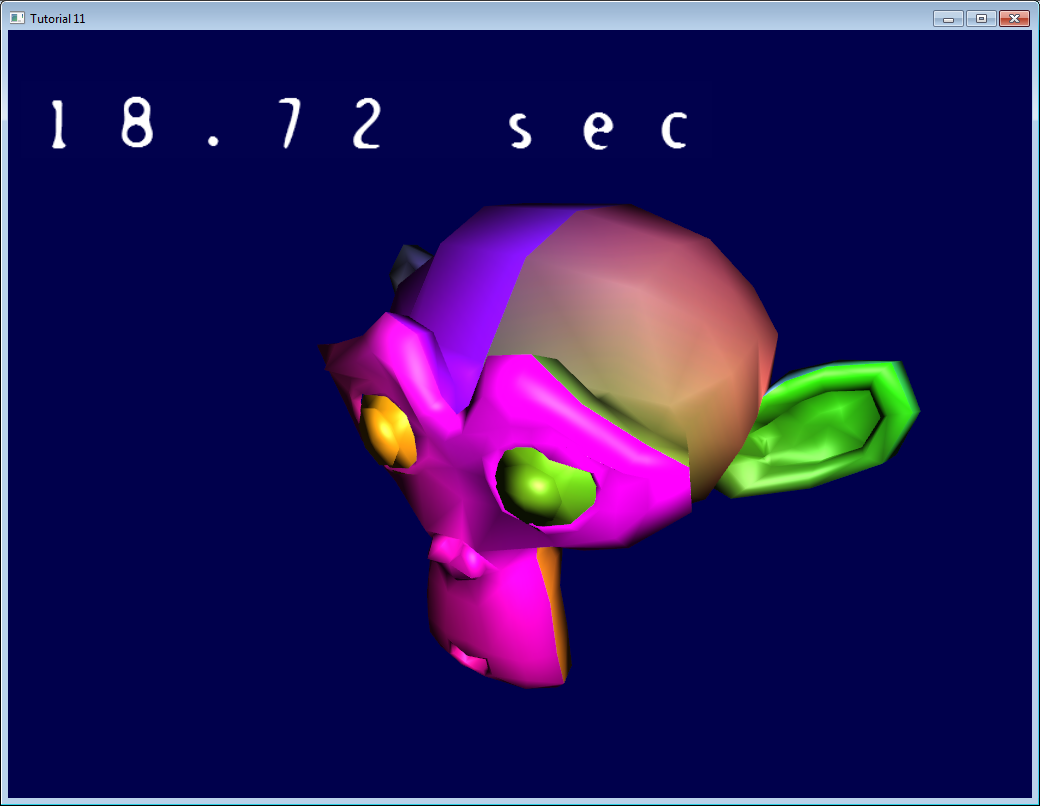
In this tutorial, we’ll learn to draw 2D text on top of our 3D content. In our case, this will be a simple timer :
The API
We’re going to implement this simple interface (in common/text2D.h):
void initText2D(const char * texturePath);
void printText2D(const char * text, int x, int y, int size);
void cleanupText2D();
In order for the code to work at both 640*480 and 1080p, x and y will be coordinates in [0-800][0-600]. The vertex shader will adapt this to the actual size of the screen.
See common/text2D.cpp for the complete implementation.
The texture
initText2D simply reads a texture and a couple of shaders. There’s nothing fancy about it, but let’s look at the texture :
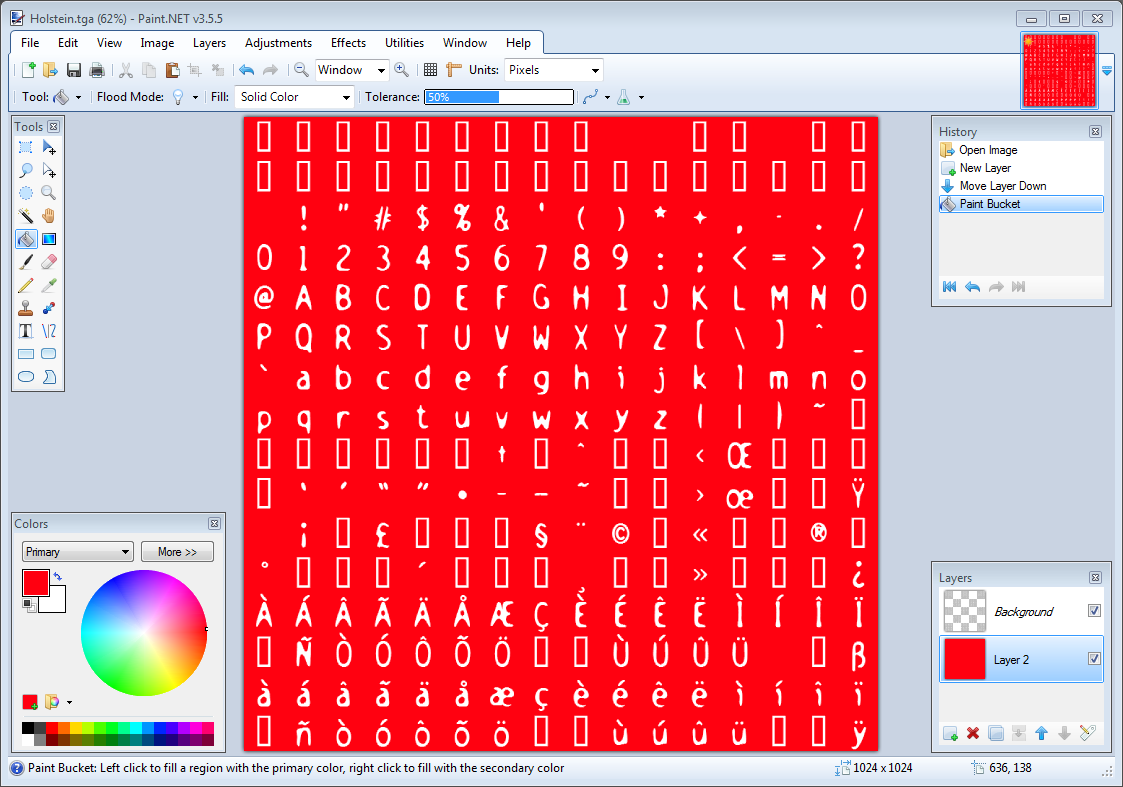
This texture was generated using CBFG, one of the many tools that generate textures from fonts. If was then imported in Paint.NET where I added a red background (for visualisation purposes only : everywhere you see red, it’s supposed to be transparent ).
The goal of printText2D will thus be to generate quads with the appropriate screen position and texture coordinates.
Drawing
We have to fill these buffers :
std::vector<glm::vec2> vertices;
std::vector<glm::vec2> UVs;
For each character, we compute the coordinates of the four vertices that will define the quad, and add the two triangles :
for ( unsigned int i=0 ; i<length ; i++ ){

    glm::vec2 vertex_up_left    = glm::vec2( x+i*size     , y+size );
    glm::vec2 vertex_up_right   = glm::vec2( x+i*size+size, y+size );
    glm::vec2 vertex_down_right = glm::vec2( x+i*size+size, y      );
    glm::vec2 vertex_down_left  = glm::vec2( x+i*size     , y      );

    vertices.push_back(vertex_up_left   );
    vertices.push_back(vertex_down_left );
    vertices.push_back(vertex_up_right  );

    vertices.push_back(vertex_down_right);
    vertices.push_back(vertex_up_right);
    vertices.push_back(vertex_down_left);
Now for the UVs. The upper-left coordinate is computed as follows :
    char character = text[i];
    float uv_x = (character%16)/16.0f;
    float uv_y = (character/16)/16.0f;
This works ( sort of - see below ) because the ASCII code for A is 65.
65%16 = 1, so A is on column #1 (starts at 0 !).
65/16 = 4, so A is on line #4 ( it’s integer division, so it’s not 4.0625 as it should be)
Both are divided by 16.0 to fit in the [0.0 - 1.0] range needed by OpenGL textures.
And now we just have to do the very same thing than we did, but for the vertices :
    glm::vec2 uv_up_left    = glm::vec2( uv_x           , 1.0f - uv_y );
    glm::vec2 uv_up_right   = glm::vec2( uv_x+1.0f/16.0f, 1.0f - uv_y );
    glm::vec2 uv_down_right = glm::vec2( uv_x+1.0f/16.0f, 1.0f - (uv_y + 1.0f/16.0f) );
    glm::vec2 uv_down_left  = glm::vec2( uv_x           , 1.0f - (uv_y + 1.0f/16.0f) );

    UVs.push_back(uv_up_left   );
    UVs.push_back(uv_down_left );
    UVs.push_back(uv_up_right  );

    UVs.push_back(uv_down_right);
    UVs.push_back(uv_up_right);
    UVs.push_back(uv_down_left);
 }
The rest is just as usual : bind the buffers, fill them, select the shader program, bind the texture, enable/bind/configure the vertex attributes, enable the blending, and call glDrawArrays. Hooray ! You’re done.
Note a very important thing : the coordinates are generated in the [0,800][0,600] range. In other words, there is NO NEED for a matrix here. The vertex shader simply has to put it in the [-1,1][-1,1] range with very simple math (this could be done in C++ too) :
void main(){

    // Output position of the vertex, in clip space
    // map [0..800][0..600] to [-1..1][-1..1]
    vec2 vertexPosition_homoneneousspace = vertexPosition_screenspace - vec2(400,300); // [0..800][0..600] -> [-400..400][-300..300]
    vertexPosition_homoneneousspace /= vec2(400,300);
    gl_Position =  vec4(vertexPosition_homoneneousspace,0,1);

    // UV of the vertex. No special space for this one.
    UV = vertexUV;
}
The fragment shader does very little too :
void main(){
    color = texture( myTextureSampler, UV );
}
By the way, don’t use this code for production, since it only handles the Latin alphabet. Or don’t sell anything to India, China, Japan ( or even Germany, since there is no ß on this image ). This texture will mostly work in France (notice the é, à, ç, etc) because it’s been generated with my locale. And beware while adapting code from other tutorials of when using libraries, most of them use OpenGL 2, which isn’t compatible. Unfortunately I don’t know any good-enough library which handles UTF-8.
By the way, you should read The Absolute Minimum Every Software Developer Absolutely, Positively Must Know About Unicode and Character Sets (No Excuses!) by Joel Spolsky.
See also this Valve article if you need large text.