Tutorial 15 : Lightmaps
Introduction
This a video-only tutorial. It doesn’t introduce any new OpenGL-specific technique/syntax, but shows you how to use the techniques you already know to build high-quality shadows.
This tutorials explains how to build a simple world in Blender, and bake the lightmaps so that you can use them in your application.
No prior knowledge of Blender is required. I will explain all keyboard shortcuts and everything.
A note on lightmaps
Lightmaps are baked. Once and for all. This means that they are completely static, you can’t decide to move the light at runtime. Or even remove it.
This can still be useful for the sunlight, though, or indoor scenes where you may not break the light bulbs. Mirror Edge, released in 2009, uses them extensively, both indoors and outdoors.
What’s more, it’s very easy to setup, and you can’t beat the speed.
The video
This is a 1024x768p video, use HD mode…
Addendum
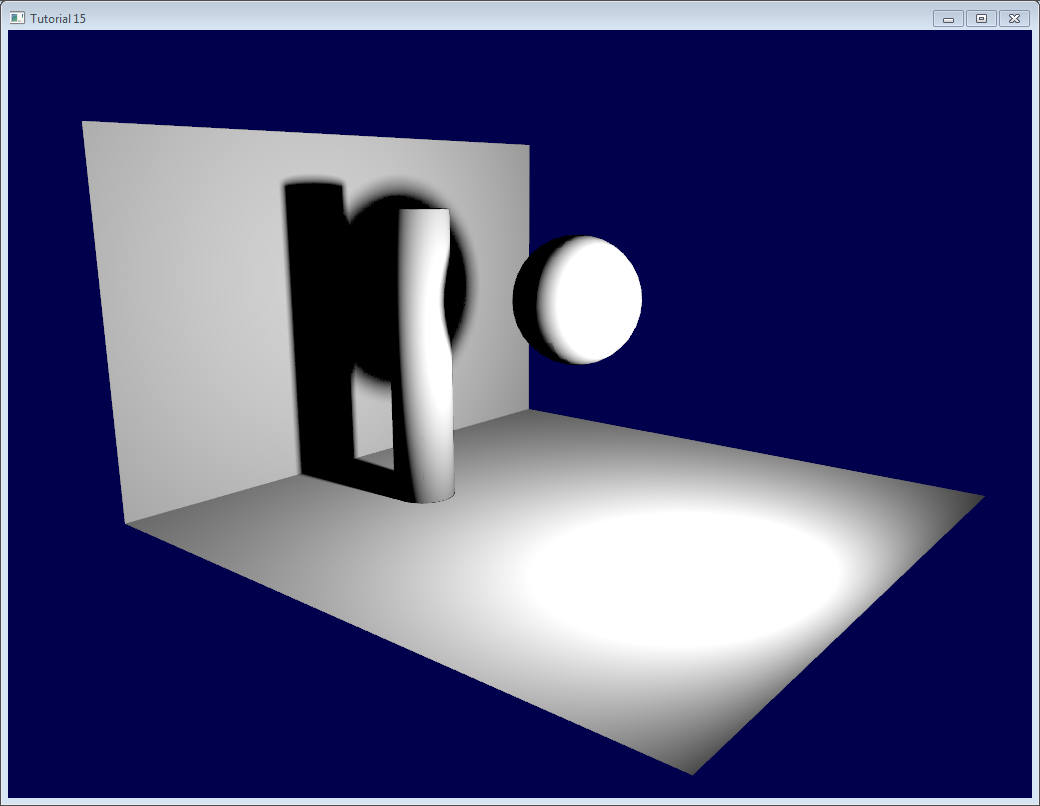
When rendering it in OpenGL, you might notice some glitches (exaggerated here) :
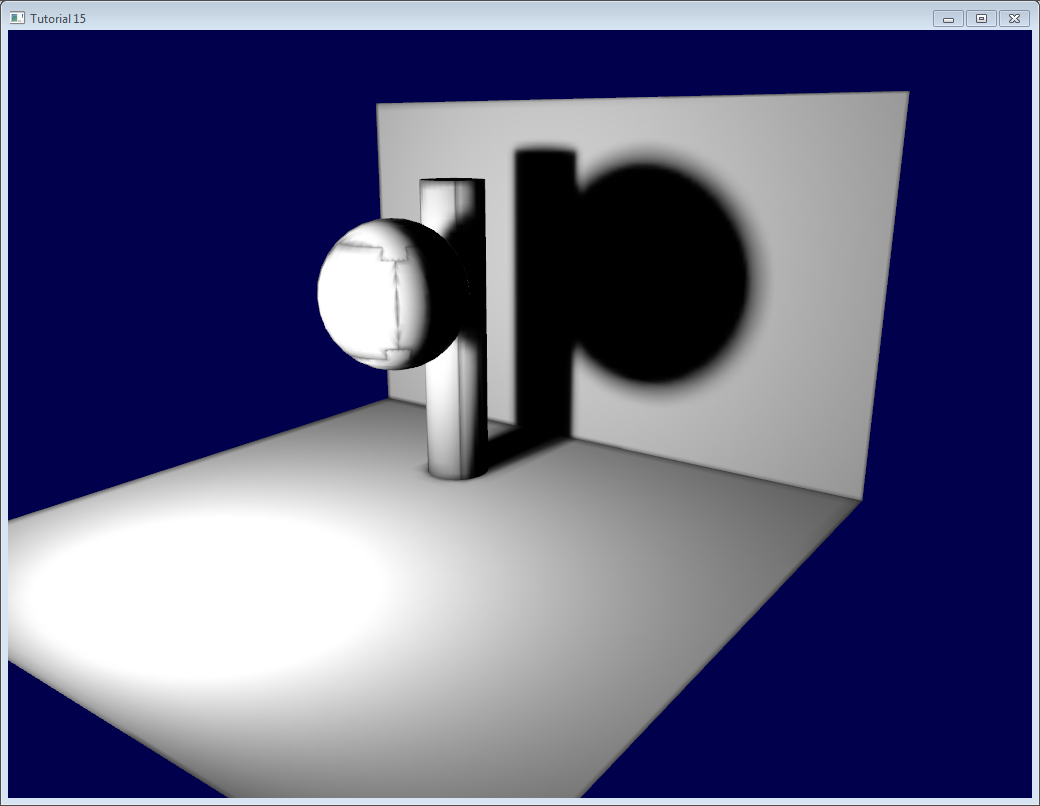
This is because of mipmapping, which blends texels together when seen at a distance. Black pixels from the texture’s background get mixed with good parts of the lightmap. To avoid this, there are a few things you can do :
- You can ask Blender to generate a margin around the limits of the UV map. This is the “margin” parameter in the “bake” panel. For good results, you may have to go up to a margin of 20 texels.
- You can use a bias in your texture fetch :
color = texture( myTextureSampler, UV, -2.0 ).rgb;
-2 is the bias. You’ll have to experiment with this value. The screenshot above was taken with a bias of +2, which means that OpenGL will select two mipmaps above the one it should have taken (so it’s 16 times smaller, hence the glitches)
- You can fill the black background in a post-processing step. I’ll post more about this later.